

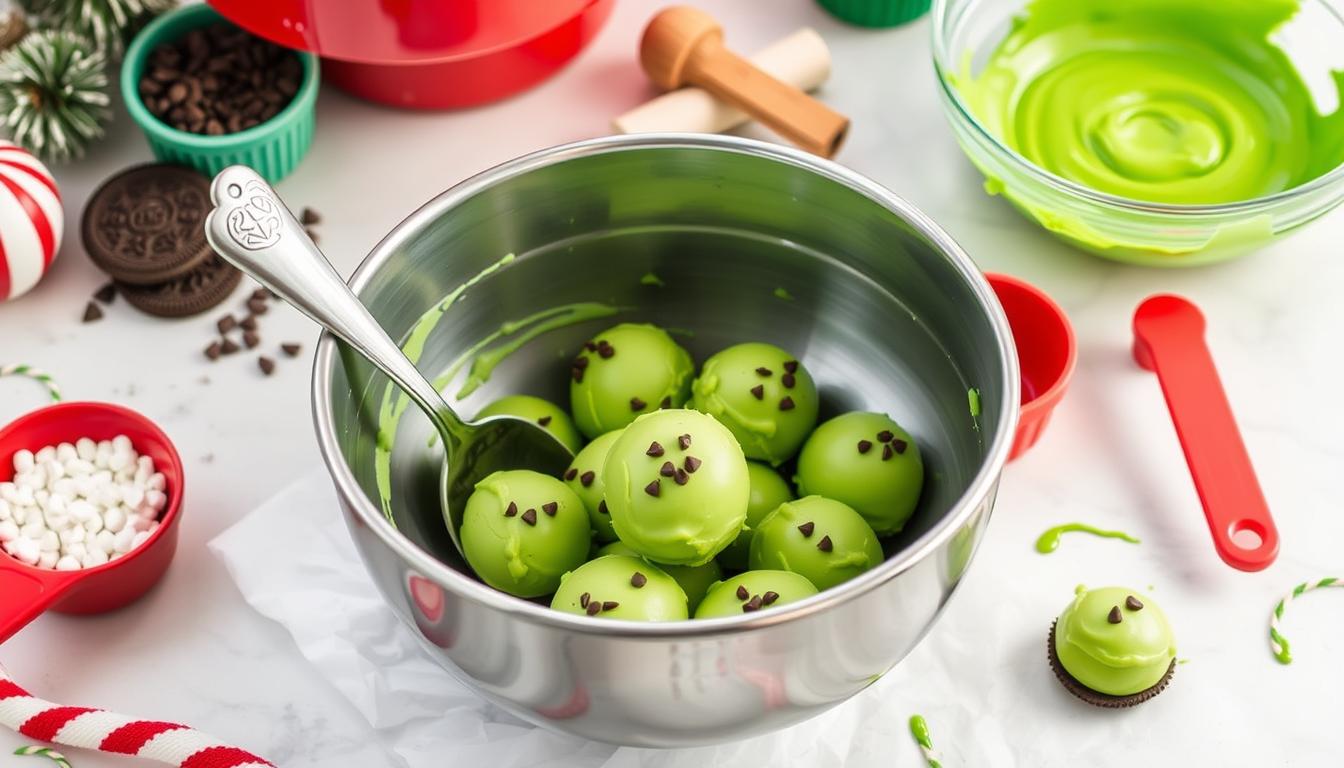
The holiday season brings out everyone’s inner baker, and what better way to spread a little Christmas cheer than with Grinch Oreo Balls? These no-bake treats are adorable, delicious, and ridiculously easy to make. With their vibrant green color and cute red heart decoration, they perfectly capture the spirit of everyone’s favorite holiday grump who learns to love Christmas. Whether you’re making them for a holiday party, gifting them to friends, or simply enjoying them at home, these bite-sized delights will steal the show (and hearts!).
Why You’ll Love This Recipe
There’s so much to adore about Grinch Oreo Balls. For starters, they’re incredibly easy and fun to make—no oven required! Perfect for beginner bakers or anyone short on time, these treats only need a few simple ingredients and a little creativity.
Another reason to love them? They’re kid-friendly and family-approved. Making Grinch Oreo Balls can be a fun holiday activity for kids. They can help crush Oreos, roll the balls, and decorate with sprinkles or tiny red candy hearts. The process feels more like a Christmas craft than baking!
Ingredients You’ll Need
(Tip: You’ll find the full list of ingredients and measurements in the recipe card below.)
To make these Grinch Oreo Balls, you’ll only need a handful of pantry staples and a touch of holiday magic:
- Oreo cookies – Classic Oreos work best for that rich chocolate flavor.
- Cream cheese – Softened at room temperature to blend smoothly with the crushed cookies.
- Green candy melts – To give your Oreo balls their signature Grinchy look.
- Red candy hearts or sprinkles – For the finishing touch that symbolizes the Grinch’s growing heart.
- White chocolate or coconut oil (optional) – For thinning the candy coating if needed.
That’s it! Simple ingredients that turn into a treat everyone will love.
Let’s Get Started
Making Grinch Oreo Balls is as easy as it is fun. Here’s a simple step-by-step guide:
- Crush the Oreos:
Place your Oreo cookies into a food processor and pulse until you have fine crumbs. If you don’t have a food processor, place the cookies in a zip-top bag and crush them with a rolling pin. - Mix with Cream Cheese:
Add softened cream cheese to the crushed Oreos and mix until well combined. You’ll get a sticky, dough-like consistency. - Roll the Balls:
Scoop about a tablespoon of the mixture and roll it into a smooth ball. Place each one on a baking sheet lined with parchment paper. - Chill the Mixture:
Refrigerate or freeze the balls for at least 20–30 minutes to firm them up. This step helps the coating stick better later. - Melt the Candy Coating:
In a microwave-safe bowl, melt the green candy melts in 30-second intervals, stirring in between until smooth. Add a small amount of coconut oil if it’s too thick. - Dip the Balls:
Using a fork or dipping tool, carefully dip each chilled Oreo ball into the melted green coating. Let the excess drip off before placing it back on the parchment paper. - Decorate:
While the coating is still wet, top each ball with a small red candy heart. Let them set completely at room temperature or in the fridge.
Once hardened, you’ll have the cutest (and tastiest) little Grinch treats ready to serve!
Servings and Pairing
This recipe makes about 24–30 Oreo balls, depending on their size. They’re perfect for sharing during holiday get-togethers, office potlucks, or cozy family nights.
When it comes to pairing, Grinch Oreo Balls are incredibly versatile. Enjoy them with:
- A warm cup of hot chocolate topped with whipped cream.
- A festive peppermint latte for a cozy coffee shop vibe.
- A glass of cold milk for that nostalgic cookie-and-milk combo.
- Or even a holiday cocktail, like peppermint schnapps or Irish cream, for an adult twist.
Their sweet, creamy flavor complements nearly any festive beverage and dessert table spread.
Variations
Want to add your own twist to the Grinch Oreo Balls? Here are a few fun variations to try:
- Minty Grinch Balls: Add a drop or two of peppermint extract to the Oreo mixture for a refreshing twist.
- White Chocolate Grinch Balls: Use white Oreos instead of regular ones and coat with green candy melts for a lighter flavor.
- Crunchy Surprise: Roll the balls in crushed candy canes or green sanding sugar before the coating hardens for extra texture.
- Different Colors: Mix up the theme by using red or white candy melts for a candy cane or snowball look.
These little adjustments keep the recipe exciting, ensuring that your Grinch Oreo Balls stay the highlight of your dessert spread every year.
Storage Tips
To keep your Grinch Oreo Balls fresh and delicious:
- Refrigerate: Store in an airtight container in the fridge for up to 2 weeks.
- Freeze: You can freeze them for up to 3 months. Just let them thaw in the fridge before serving.
- Avoid Heat: Keep them cool, as the candy coating can melt if left out in warm conditions.
If you’re gifting them, pack them in festive tins or boxes with parchment paper layers to prevent sticking. They’ll look professional and taste divine!
FAQs
How long do Grinch Oreo Balls last?
They last up to two weeks when stored properly in the refrigerator.
Can I make them ahead of time?
Absolutely! You can prepare them several days in advance and store them in the fridge or freezer until needed.
Do I have to use candy melts?
No, you can use white chocolate dyed with green food coloring as an alternative.
Can I use a different cookie flavor?
Yes! Try golden Oreos, mint Oreos, or even red velvet Oreos for a fun twist.
What if I don’t have red hearts?
No worries! Red sprinkles, mini M&Ms, or heart-shaped icing decorations work perfectly too.
Final Thoughts
Grinch Oreo Balls are more than just a dessert—they’re a festive experience that brings out the joy and warmth of the holiday season. Their vibrant green color, creamy texture, and fun design make them irresistible to both kids and adults. Plus, they’re so simple that anyone can make them, no baking skills required!
Print
Grinch Oreo Balls
- Total Time: 25 minutes
- Yield: 24 balls
- Diet: Vegetarian
Description
Make your holidays extra sweet with these no-bake Grinch Oreo Balls! A fun, festive treat made with Oreos, cream cheese, and green candy melts—perfect for Christmas parties, gifts, or cozy nights in.
Ingredients
- 36 Oreo cookies
- 8 oz (1 block) cream cheese, softened
- 12 oz green candy melts
- 1 tbsp coconut oil or shortening (optional, for thinning the coating)
- Red heart sprinkles or red candy decorations
Instructions
- Crush the Oreos: Place Oreos in a food processor and pulse until fine crumbs form.
- Mix with Cream Cheese: Add softened cream cheese and blend until fully combined into a thick dough.
- Shape into Balls: Roll about 1 tablespoon of the mixture into small balls. Place them on a parchment-lined baking sheet.
- Chill: Freeze or refrigerate for 20–30 minutes until firm.
- Melt the Candy Coating: Microwave green candy melts in 30-second intervals, stirring until smooth. Add coconut oil if needed.
- Dip and Decorate: Using a fork, dip each chilled ball into the melted coating. Tap off excess and place back on parchment paper. Add a red heart sprinkle on top before the coating sets.
- Set and Serve: Let them harden completely before serving or storing in the fridge.
Notes
- Make sure the cream cheese is at room temperature for easy mixing.
- If you don’t have a food processor, crush Oreos in a zip-lock bag using a rolling pin.
- For a lighter coating, use white chocolate tinted with green food coloring.
- Store in an airtight container to keep fresh for up to 2 weeks.
- Add peppermint extract to the filling for a festive flavor twist.
- Prep Time: 25 minutes
- Cook Time: 0 minutes