
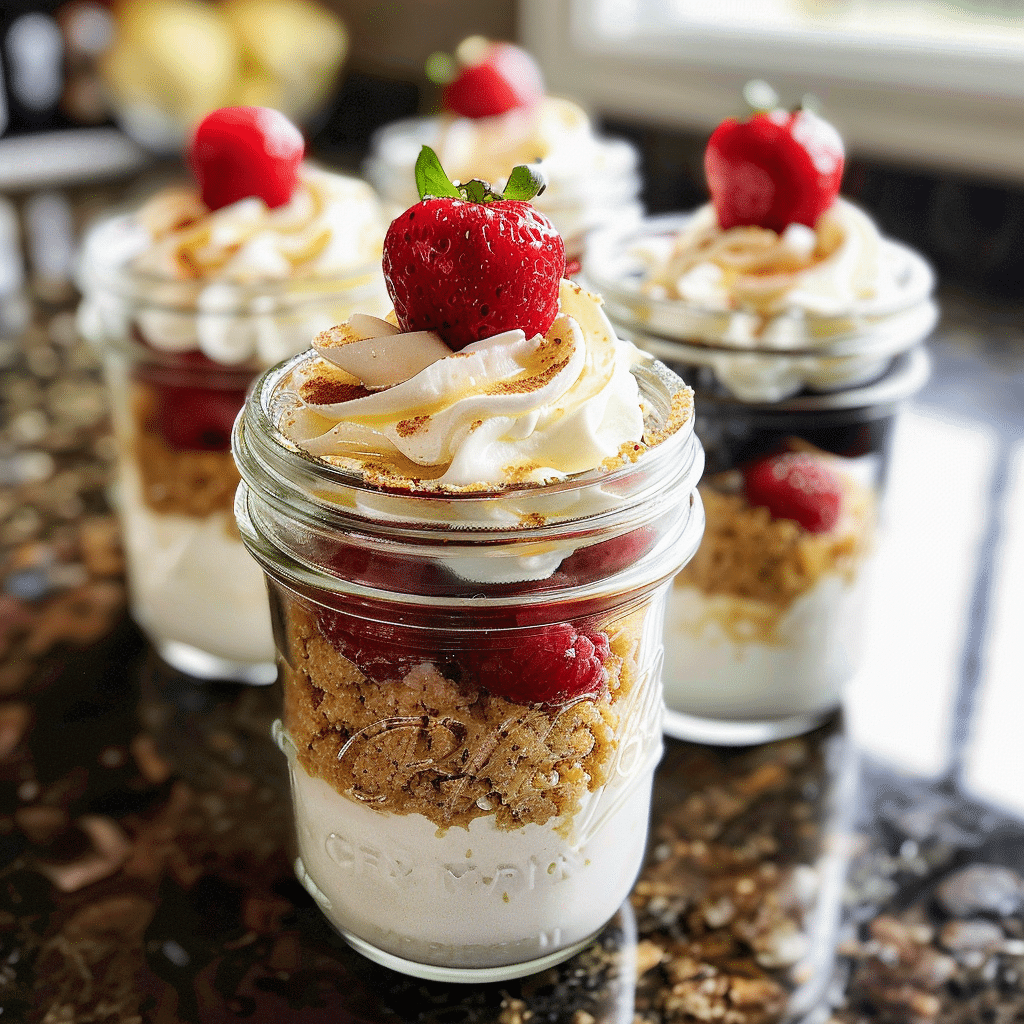
There is something deeply satisfying about a dessert that requires zero oven time and still manages to taste like you spent hours on it. No-Bake Cheesecake Jars are exactly that — creamy, dreamy, individual cheesecakes layered over a buttery graham cracker crust, served straight from the jar, and ready to eat with nothing more than a spoon and a clear conscience. No baking, no water bath, no cracked tops, no stress.
Why You’ll Love This Recipe
- Zero baking required. No oven, no water bath, no timing anxiety — just mix, layer, chill, and eat.
- Individual servings. Everyone gets their own jar which means perfect portions, easy serving, and zero fighting over the last slice.
- Make-ahead magic. These jars are better after chilling overnight, making them the perfect dessert to prep the day before a dinner party or special occasion.
- Endless topping options. Fresh fruit, compote, caramel, chocolate — the base filling works beautifully with virtually any topping you love.
Ingredients You’ll Need
- 2 tbsp (28g) unsalted butter, melted
- 1 cup (100g) graham cracker crumbs
- 1 cup (240ml) heavy cream, cold
- 8 oz (226g) full-fat brick cream cheese, softened
- ⅓ cup (65g) granulated sugar
- 2 tbsp (30g) sour cream, room temperature
- 1 tsp lemon juice
- ½ tsp pure vanilla extract
- Toppings of choice
Tip: You’ll find the full list of ingredients and measurements in the recipe card below.
Let’s Get Started
- Make the crust. Combine the graham cracker crumbs and melted butter in a small bowl and stir until the mixture looks like wet sand and holds together when pressed. Divide it evenly between your jars — typically 4 to 6 depending on size — and press firmly into the bottom with the back of a spoon or your fingers. Refrigerate while you prepare the filling so the crust firms up nicely.
- Whip the cream. Pour the cold heavy cream into a clean mixing bowl and beat with a hand mixer or stand mixer on medium-high speed until stiff peaks form — this takes about 2 to 3 minutes. The cream should hold its shape when you lift the beaters. Set aside.
- Make the cheesecake filling. In a separate large bowl, beat the softened cream cheese and granulated sugar together on medium speed until completely smooth, fluffy, and free of any lumps — about 2 minutes. Add the sour cream, lemon juice, and vanilla extract and mix until fully incorporated and silky.
- Fold in the whipped cream. Add the whipped cream to the cream cheese mixture in two additions, folding gently with a rubber spatula each time. Use slow, deliberate strokes to keep as much air in the mixture as possible — this is what gives the filling its light, mousse-like texture. Stop folding as soon as no white streaks remain.
- Fill the jars. Remove the crusts from the refrigerator. Spoon or pipe the cheesecake filling generously over each crust, smoothing the tops if you like a neat finish or leaving them rustic and swirled for a more casual look. Cover each jar with plastic wrap or a lid.
- Chill. Refrigerate for at least 2 hours, though overnight is genuinely better. The filling sets up beautifully and the flavors deepen significantly with more time in the fridge.
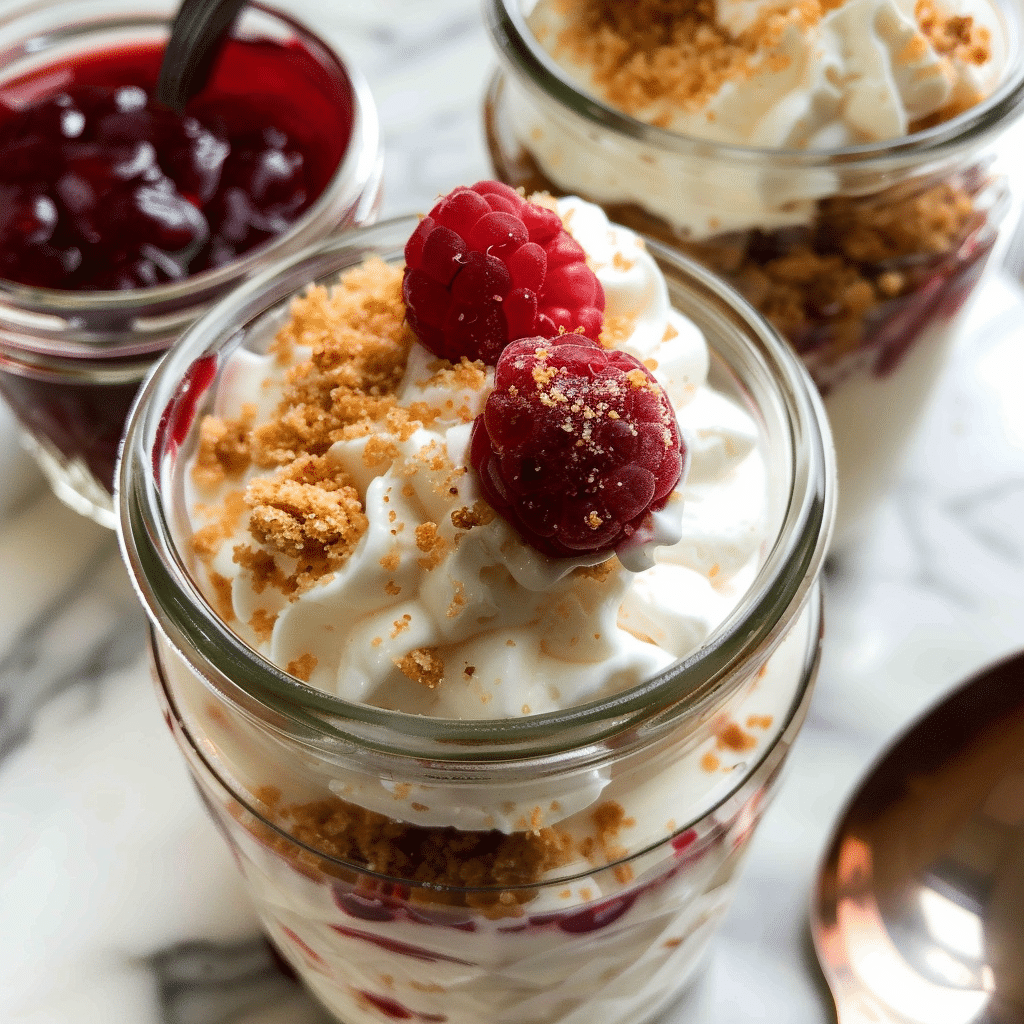
- Top and serve. Just before serving, add your toppings of choice — fresh berries, fruit compote, caramel sauce, or anything else you love. Serve straight from the jar with a long spoon.
Servings and Pairing
This recipe makes 4 generous jars or 6 smaller ones depending on your jar size. They pair beautifully with a hot cup of coffee or espresso, a glass of sparkling rosé, or a simple herbal tea. For a full dessert spread, serve alongside chocolate truffles or fresh fruit skewers for a light and elegant finish to any meal.
Variations
Faster Weeknight Version
Use store-bought whipped topping instead of whipping the heavy cream yourself to cut prep time nearly in half. The texture will be slightly lighter but the flavor is still excellent and the whole thing comes together in under 10 minutes.
Lighter Version
Replace the heavy cream with full-fat coconut cream chilled overnight and whipped to stiff peaks for a dairy-free alternative. Use reduced-fat cream cheese and swap the sour cream for plain Greek yogurt to significantly lighten the filling without losing that essential tang.
High-Protein Version
Replace half the cream cheese with blended cottage cheese for a filling that is noticeably higher in protein while still creamy and smooth. Add a tablespoon of vanilla protein powder along with the sugar for an even bigger nutritional boost that works especially well with berry toppings.
Budget-Friendly Version
Use digestive biscuits instead of graham crackers for the crust — they are often cheaper and work just as well. Skip the sour cream and replace it with an extra tablespoon of lemon juice for the same tangy flavor at a lower cost per jar.
Storage Tips
- Store covered jars without toppings in the refrigerator for up to 5 days — they keep beautifully and are great for meal prepping dessert for the week.
- Always add toppings fresh just before serving to keep the crust from going soggy and the fruit looking vibrant.
- These jars do not freeze well — the cream cheese filling becomes grainy and watery once thawed.
- If transporting, keep lids on and toppings separate until ready to serve.
FAQs
Can I make No-Bake Cheesecake Jars ahead of time?
These are genuinely one of the best make-ahead desserts around. Prepare the jars up to 2 days in advance, cover tightly, and refrigerate. The filling actually improves overnight as it sets and the flavors meld together. Add toppings right before serving and they will look and taste freshly made.
What can I substitute for sour cream?
Full-fat Greek yogurt is the best substitute and works in a perfect 1:1 ratio. It provides the same slight tang and creamy consistency that balances the richness of the cream cheese. In a pinch, a teaspoon of extra lemon juice stirred into the filling can mimic that tartness if you have neither on hand.
How do I know when the No-Bake Cheesecake Jars are set?
The filling is ready to eat when it holds its shape when you gently tilt the jar and does not look wet or liquid at the center — usually after a minimum of 2 hours in the fridge. For the cleanest, most defined layers and the best texture, overnight chilling is the real answer. If in doubt, give them more time rather than less.
Final Thoughts
No-Bake Cheesecake Jars are the kind of dessert that earns a permanent spot in your recipe rotation not just because they are easy, but because they are genuinely, consistently delicious every single time. Creamy, customizable, make-ahead friendly, and served in their own little jar — they are the dessert that works for every occasion, every season, and every craving. Make a batch this week and see just how quickly they disappear.
Print
No-Bake Cheesecake Jars
- Total Time: 2 hours 20 minutes
- Yield: 4 jars
- Diet: Vegetarian
Description
No-Bake Cheesecake Jars are individual, creamy, no-fuss cheesecake desserts layered over a buttery graham cracker crust — no oven required. Ready in 20 minutes, endlessly customizable with your favorite toppings, and perfect for making ahead.
Ingredients
- 2 tbsp (28g) unsalted butter, melted
- 1 cup (100g) graham cracker crumbs
- 1 cup (240ml) heavy cream, cold
- 8 oz (226g) full-fat brick cream cheese, softened
- ⅓ cup (65g) granulated sugar
- 2 tbsp (30g) sour cream, room temperature
- 1 tsp lemon juice
- ½ tsp pure vanilla extract
- Toppings of choice (fresh berries, fruit compote, caramel, chocolate sauce)
Instructions
- Mix graham cracker crumbs and melted butter until combined and resembles wet sand. Divide evenly between jars and press firmly into the bottom. Refrigerate while you make the filling.
- Beat cold heavy cream with a hand or stand mixer until stiff peaks form. Set aside.
- In a separate bowl, beat softened cream cheese and sugar together until completely smooth and fluffy, about 2 minutes.
- Add sour cream, lemon juice, and vanilla extract to the cream cheese mixture and mix until combined.
- Gently fold the whipped cream into the cream cheese mixture in two additions until smooth and no streaks remain.
- Spoon or pipe the cheesecake filling over the chilled crusts. Cover and refrigerate for at least 2 hours or overnight.
- Add toppings just before serving and enjoy straight from the jar.
Notes
- Make sure cream cheese is fully softened — cold cream cheese will leave lumps in the filling.
- Keep the heavy cream cold until the moment you whip it — cold cream whips faster and holds its peaks better.
- These jars are even better made the night before — the filling sets beautifully overnight.
- Prep Time: 20 mins
- Chilling Time: 2 hours
- Cook Time: 0 mins