
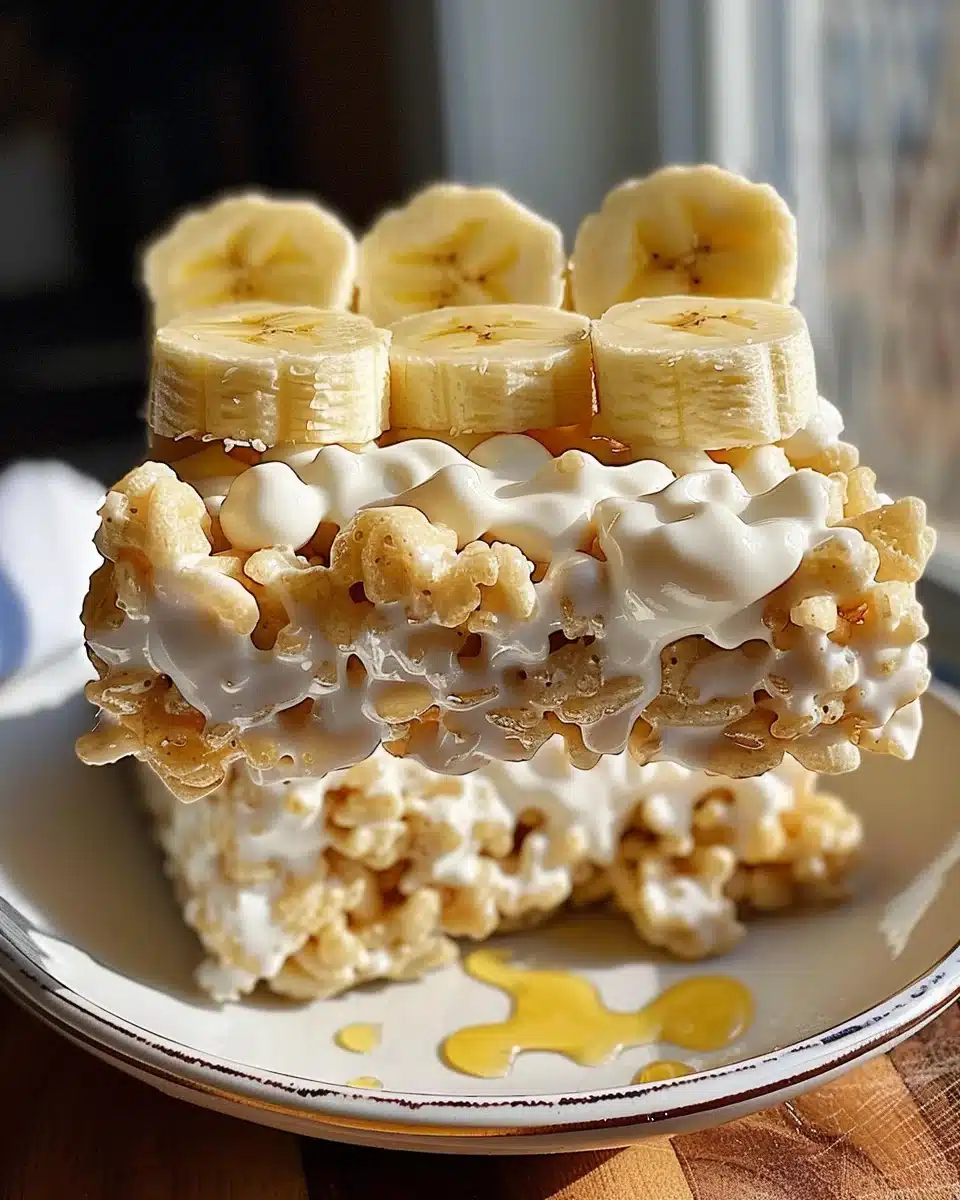
Banana pudding has always been a timeless classic—rich, creamy, and full of comforting flavors that remind many of their childhood. On the other hand, Rice Krispies treats are one of the easiest, no-bake desserts that people love for their chewy, gooey texture and nostalgic crunch. Now imagine combining the two into one delicious hybrid treat: Banana Pudding Rice Krispies.
Why You’ll Love This Recipe
There are plenty of reasons why Banana Pudding Rice Krispies deserve a spot in your dessert rotation:
Unique Twist on a Classic – Instead of serving banana pudding or Rice Krispies treats on their own, this recipe brings them together in one creative dessert.
Quick & Easy – With just a few simple steps and no baking required, you can have these ready in under 30 minutes.
Perfect for Any Occasion – Whether it’s a birthday party, summer barbecue, or a holiday potluck, these bars will disappear fast.
Customizable – You can easily adjust the flavors, add toppings, or swap ingredients to fit your preferences.
Kid-Friendly Fun – Children love helping with Rice Krispies treats, and this banana pudding version makes them even more exciting.
In short, this dessert hits the sweet spot between nostalgic comfort and creative innovation.
Ingredients
To make Banana Pudding Rice Krispies, you’ll need a handful of simple ingredients that work together beautifully:
Rice Krispies cereal – The base of your treat, giving that signature crunch.
Marshmallows – Melted down, these act as the glue that binds everything together while adding chewiness.
Butter – Adds richness and helps melt the marshmallows smoothly.
Banana pudding mix – The star flavor of this recipe. Instant banana pudding mix blends right into the marshmallow mixture, infusing the bars with a sweet, fruity kick.
Vanilla wafers (Nilla Wafers) – A nod to traditional banana pudding, these cookies add crunch and flavor.
Bananas (optional, fresh slices for serving) – You can top with banana slices right before serving for extra freshness.
Whipped topping or whipped cream – Optional, but it makes these treats taste even closer to the classic banana pudding dessert.
Tip: You’ll find the full list of ingredients and exact measurements in the recipe card below.
Directions
Follow these step-by-step directions to make the perfect Banana Pudding Rice Krispies:
1- Prepare Your Pan
Grease a 9×13-inch baking dish with butter or cooking spray. You can also line it with parchment paper for easier removal later.
2- Melt the Butter and Marshmallows
In a large saucepan, melt butter over medium-low heat. Add the marshmallows and stir continuously until smooth and fully melted.
3- Add Banana Pudding Mix
Stir the instant banana pudding mix directly into the melted marshmallow mixture. This step ensures the banana flavor is evenly distributed throughout.
4- Mix in Rice Krispies and Crushed Wafers
Remove from heat and quickly stir in the Rice Krispies cereal and crushed vanilla wafers. Mix until everything is evenly coated with the marshmallow-banana mixture.
5- Transfer and Press Into Pan
Pour the mixture into your prepared baking dish. Use a buttered spatula or wax paper to press it down evenly. Don’t press too hard, or the treats can become dense.
6- Cool and Slice
Allow the bars to cool at room temperature for about 30 minutes before cutting into squares or rectangles.
7- Optional Garnish
Before serving, you can top each square with a dollop of whipped cream and a banana slice to give it that true banana pudding vibe.
Servings and Pairing
This recipe makes about 12–16 bars, depending on how large you cut them. They’re sweet and rich, so smaller portions are often enough to satisfy.
Pairing Ideas:
Serve with a cold glass of milk for a nostalgic snack.
Pair with a hot cup of coffee or tea for a comforting afternoon treat.
At parties, serve alongside other no-bake desserts like chocolate-dipped strawberries or cheesecake bites.
Variations
The beauty of this recipe is how easily you can make it your own. Here are a few fun variations to try:
Chocolate Banana Pudding Rice Krispies – Add chocolate chips to the mixture or drizzle melted chocolate over the top.
Peanut Butter Twist – Stir in a couple of tablespoons of peanut butter with the marshmallows for a nutty kick.
Extra Creamy – Add mini marshmallows into the mixture at the end (without melting them) for pockets of gooey goodness.
Banana Cream Pie Style – Top with whipped cream, banana slices, and extra crushed wafers for a more decadent presentation.
Healthier Version – Use reduced-fat butter, sugar-free pudding mix, and whole-grain cereal for a lighter option.
Storage/Reheating
To keep your Banana Pudding Rice Krispies fresh:
Room Temperature – Store in an airtight container at room temperature for up to 3 days.
Refrigerator – If you added fresh banana slices, store them in the fridge to prevent browning. Consume within 1–2 days.
Freezer – Wrap individual squares in plastic wrap and freeze for up to 1 month. Thaw at room temperature before serving.
Tip: These treats don’t really need reheating since they’re best served at room temperature.
FAQs
1. Can I use homemade banana pudding instead of instant mix?
Yes, but instant pudding works best since it blends easily into the marshmallow mixture. Homemade pudding may add too much moisture.
2. Do I need to add fresh bananas?
No, the pudding mix provides plenty of banana flavor. Fresh bananas are optional but add a nice touch if serving immediately.
3. Can I use other pudding flavors?
Absolutely! Try vanilla, chocolate, or even coconut pudding for different flavor variations.
4. My Rice Krispies treats turned out hard. What happened?
This usually happens if you press the mixture too firmly into the pan or cook the marshmallows at too high a heat. Keep the heat low and press gently.
Conclusion
Banana Pudding Rice Krispies are the ultimate mashup dessert—easy, nostalgic, and packed with flavor. They take the best parts of two beloved treats and merge them into one fun and irresistible recipe. Whether you’re making them for your family, bringing them to a potluck, or simply treating yourself, they’re guaranteed to be a crowd favorite.
Print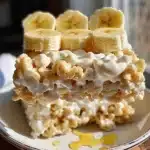
Banana Pudding Rice Krispies
- Total Time: 20 minutes
- Yield: 12 servings
- Diet: Vegetarian
Description
These Banana Pudding Rice Krispies are a creative dessert mashup you didn’t know you needed! With the sweetness of banana pudding mix, the crunch of Rice Krispies cereal, and the nostalgic flavor of vanilla wafers, they’re quick, kid-friendly, and a total crowd-pleaser.
Ingredients
- 6 cups Rice Krispies cereal
- 1 (10 oz) bag mini marshmallows
- 4 tbsp unsalted butter
- 1 (3.4 oz) box instant banana pudding mix
- 1 cup crushed vanilla wafers (Nilla Wafers)
- Optional toppings: whipped cream, fresh banana slices, extra crushed wafers
Instructions
- Grease a 9×13-inch baking dish or line it with parchment paper.
- In a large saucepan, melt butter over medium-low heat.
- Add marshmallows and stir until melted and smooth.
- Stir in the banana pudding mix until fully combined.
- Remove from heat and gently fold in Rice Krispies cereal and crushed vanilla wafers until evenly coated.
- Press mixture into the prepared baking dish using a buttered spatula or wax paper. Don’t press too firmly.
- Let cool for 30 minutes, then cut into squares.
- Optional: Top with whipped cream, banana slices, and extra wafers before serving.
Notes
- Don’t overheat the marshmallows—keep the heat low to avoid hard treats.
- For extra gooey bars, mix in a handful of mini marshmallows at the end (before pressing into the pan).
- Add toppings just before serving if using fresh bananas to prevent browning.
- Store in an airtight container at room temperature for up to 3 days.
- Prep Time: 10 minutes
- Cook Time: 10 minutes