

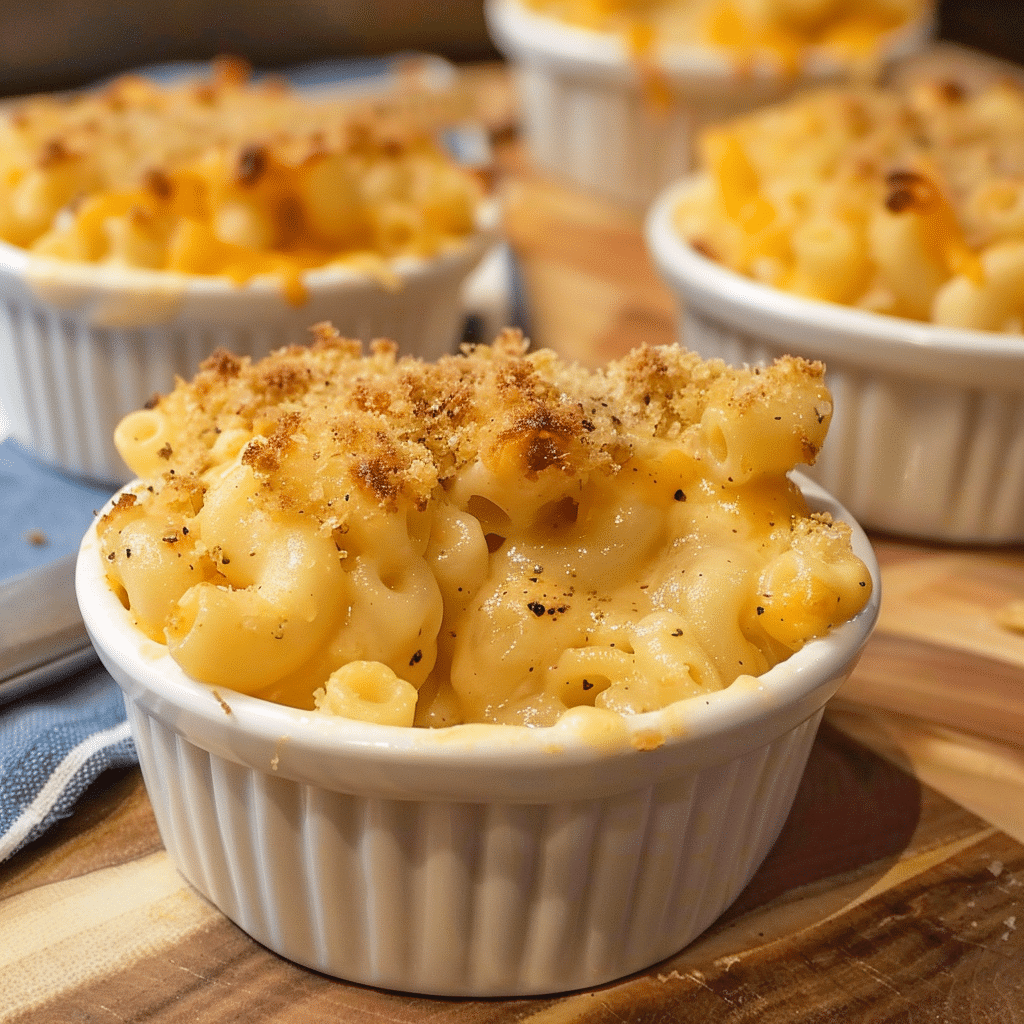
Mac and cheese is one of the most beloved comfort foods around the world, with its creamy texture and cheesy goodness. But what if you could take that classic dish and turn it into a fun, bite-sized treat? Enter Mac and Cheese Cups! These individually portioned, crispy and cheesy cups are an exciting twist on the traditional dish, perfect for any occasion. Whether you’re serving them at a party, as a fun snack, or as part of a family dinner, these little cups are sure to be a hit with both kids and adults alike.
Why You’ll Love This Recipe
There are plenty of reasons to love Mac and Cheese Cups. First off, they’re perfectly portioned. Unlike traditional mac and cheese, where you scoop out servings, these little cups allow you to serve up individual portions, which makes them great for parties, meal prepping, or any situation where you need a convenient serving size. Plus, they have a wonderful crispy texture on top, which gives them an added crunch that you don’t get from regular mac and cheese.
Ingredients You’ll Need
To make these Mac and Cheese Cups, you’ll need the following ingredients:
- 3 cups elbow noodles
- 1/4 cup unsalted butter
- 1/4 cup all-purpose flour
- 1 1/2 cups milk
- 1 1/2 cups low-sodium chicken broth
- 1 1/2 teaspoons salt
- 2 cups shredded cheddar cheese
- 1 serving Goldfish crackers (about 1/4 cup, for topping)
Tip: You’ll find the full list of ingredients and measurements in the recipe card below.
Let’s Get Started
Making these Mac and Cheese Cups is as easy as 1-2-3. Here’s how to bring your cheesy creation to life:
1. Cook the Elbow Noodles
Start by boiling the elbow noodles in a large pot of salted water according to the package directions, until they’re al dente (firm but tender). Once cooked, drain the noodles and set them aside.
2. Prepare the Cheese Sauce
In a separate saucepan, melt the butter over medium heat. Add the flour to the melted butter and whisk continuously for about 1-2 minutes to make a roux (this will help thicken the sauce). Gradually whisk in the milk and chicken broth, stirring constantly to avoid lumps. Let the mixture simmer for 2-3 minutes, or until it starts to thicken.
3. Add the Cheese and Seasoning
Once the sauce has thickened, reduce the heat to low and add the shredded cheddar cheese, stirring until the cheese is fully melted and the sauce is smooth. Stir in the salt, adjusting the seasoning to your taste.
4. Combine the Noodles with the Cheese Sauce
Add the cooked elbow noodles to the cheese sauce and stir to coat the noodles evenly. Make sure all the noodles are covered in that rich, cheesy goodness.
5. Prepare the Muffin Tin
Preheat your oven to 375°F (190°C). Grease a muffin tin with non-stick spray or lightly butter the cups to ensure the mac and cheese cups don’t stick.
6. Assemble the Mac and Cheese Cups
Spoon the cheesy macaroni mixture into each muffin cup, filling them about 3/4 of the way full.
7. Top with Goldfish Crackers
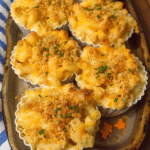
Crush the Goldfish crackers in a plastic bag or with your hands, then sprinkle them on top of each mac and cheese cup. This adds a crispy texture to the top and a fun, salty flavor.
8. Bake the Mac and Cheese Cups
Place the muffin tin in the preheated oven and bake for about 15-18 minutes, or until the tops are golden brown and the mac and cheese is set. If you want extra crispy tops, you can broil them for the last 2 minutes, but be careful not to burn them.
9. Cool and Serve
Once baked, remove the muffin tin from the oven and let the Mac and Cheese Cups cool for a few minutes. Then, carefully remove them from the tin using a spoon or small spatula. Serve warm and enjoy!
Servings and Pairing
This recipe makes about 12-14 Mac and Cheese Cups, depending on the size of your muffin tin. These cups are perfect for serving as appetizers or snacks at a party, or as a side dish for dinner. They can also be enjoyed as a quick and satisfying lunch or dinner on their own.
Pair these cheesy cups with:
- A Side Salad: A light green salad with a tangy vinaigrette can balance the richness of the mac and cheese cups.
- Roasted Vegetables: Serve these cups with roasted broccoli or carrots for a healthier side.
- Garlic Bread: For more comfort, garlic bread is a perfect addition to this cheesy meal.
- Soup: Pair with a warm bowl of tomato soup for a classic, comforting combination.
Variations
While these Mac and Cheese Cups are delicious as is, feel free to mix things up and add your own creative twist:
- Add Bacon: Crumbled bacon can be mixed into the cheese sauce or sprinkled on top for added flavor and crunch.
- Use Different Cheeses: Swap out the cheddar for mozzarella, gouda, or even pepper jack for a different cheese experience.
- Incorporate Vegetables: Add cooked spinach, peas, or bell peppers to the cheese sauce for added nutrition and flavor.
- Spicy Mac and Cheese Cups: Spice things up by adding diced jalapeños or a sprinkle of cayenne pepper to the sauce.
Storage Tips
If you have leftovers (or if you want to make these ahead of time), here’s how to store and reheat them:
Refrigeration: Allow the Mac and Cheese Cups to cool completely, then store them in an airtight container in the fridge for up to 3 days. Simply reheat them in the microwave or oven before serving.
Freezing: These cups freeze really well! To freeze, place the cooled cups on a baking sheet and freeze them for about 1 hour. Then, transfer them to a freezer-safe container or bag and store for up to 2 months. When you’re ready to eat, reheat them from frozen in a 350°F (175°C) oven for 15-20 minutes.
FAQs
Can I make these Mac and Cheese Cups ahead of time?
Yes! You can make the cups ahead of time, bake them, and store them in the fridge for up to 2 days. Just reheat them in the oven when you’re ready to serve.
Can I use gluten-free pasta?
Absolutely! You can use gluten-free elbow noodles to make these cups suitable for those with gluten sensitivities.
How do I make these Mac and Cheese Cups spicier?
For a spicy kick, you can add jalapeños, red pepper flakes, or a dash of hot sauce to the cheese sauce.
Can I use a different type of cracker for the topping?
Yes, you can substitute the Goldfish crackers with crushed Ritz crackers or panko breadcrumbs for a different topping texture.
Final Thoughts
Mac and Cheese Cups are the perfect solution for anyone who loves the classic comfort of mac and cheese but wants something new and fun. With their crispy topping, creamy inside, and customizable flavors, these cups are sure to become a favorite in your recipe collection. Whether you’re cooking for a crowd, meal prepping, or just treating yourself, these cheesy cups will be a hit every time. Try them today and enjoy a fresh twist on a timeless dish!
Mac and Cheese Cups
5 Stars 4 Stars 3 Stars 2 Stars 1 Star
No reviews
- Author: Isabella Florelle
- Total Time: 35 minutes
- Yield: 12 servings
Description
Mac and Cheese Cups are the perfect bite-sized comfort food! Creamy inside, crispy on top, and packed with cheesy goodness, these cups make a great snack, appetizer, or meal.
Ingredients
- 3 cups elbow noodles
- 1/4 cup unsalted butter
- 1/4 cup all-purpose flour
- 1 1/2 cups milk
- 1 1/2 cups low-sodium chicken broth
- 1 1/2 teaspoons salt
- 2 cups shredded cheddar cheese
- 1 serving Goldfish crackers (about 1/4 cup for topping)
Instructions
- Cook the elbow noodles according to package directions and drain.
- In a saucepan, melt the butter and add the flour, whisking for 1-2 minutes to make a roux.
- Slowly add milk and chicken broth, stirring until thickened.
- Reduce heat, add cheese, and stir until melted. Add salt to taste.
- Add noodles to cheese sauce and stir to combine.
- Preheat the oven to 375°F (190°C) and grease a muffin tin.
- Spoon mac and cheese into muffin cups and top with crushed Goldfish crackers.
- Bake for 15-18 minutes, until golden and crispy on top.
- Let cool for a few minutes, then serve.
Notes
- To add more texture, top with additional crispy bacon bits or sautéed vegetables.
- For a spicy kick, add some chopped jalapeños or a sprinkle of red pepper flakes.
- Experiment with different cheeses like mozzarella or gouda for extra flavor.
- Prep Time: 15 minutes
- Cook Time: 20 minutes