

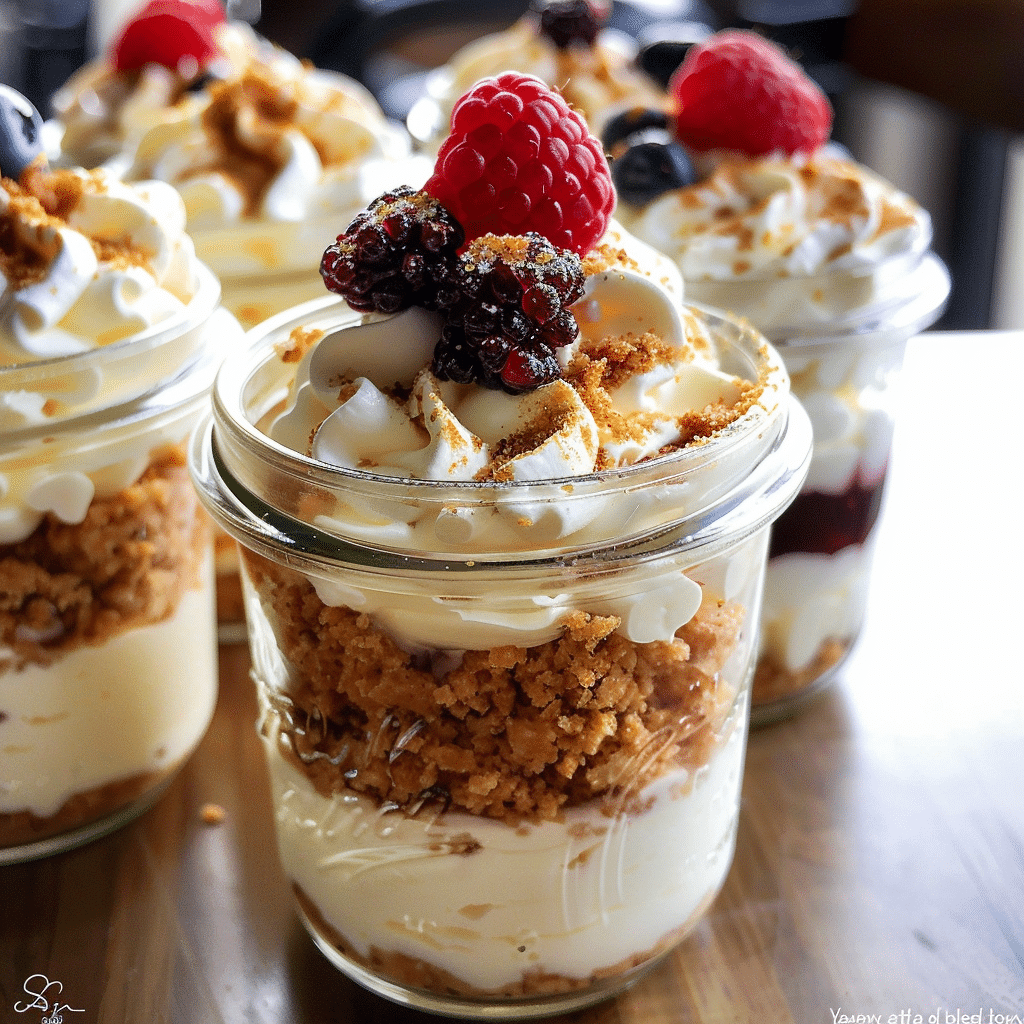
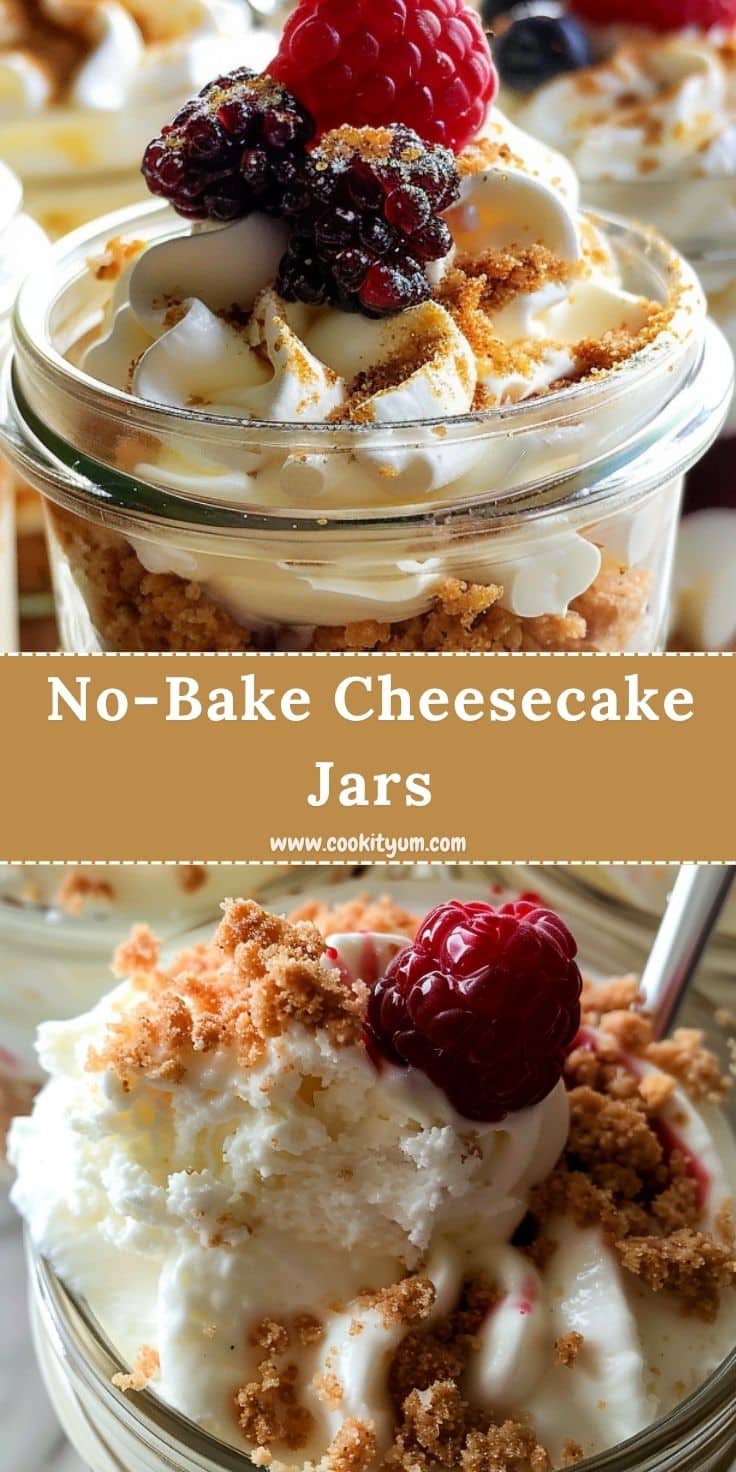
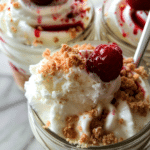
There’s a special kind of joy in a dessert that delivers all the richness of cheesecake without ever needing to turn on the oven, and these no-bake cheesecake jars have become my answer whenever that craving hits. Creamy, tangy, and perfectly portioned into individual jars, they come together in about 20 minutes of actual hands-on work, with the fridge doing the rest.
What makes these jars so much fun is the presentation. There’s something undeniably charming about a dessert served in its own little jar, ready to grab and enjoy without worrying about cutting clean slices. Add your favorite toppings, and suddenly a simple cheesecake filling feels like a completely custom treat.
Why You’ll Love This
These jars give you all the rich, tangy flavor of a classic cheesecake without any baking required, making them perfect for hot days or whenever the oven feels like too much commitment. They’re easy to customize with whatever toppings you love, portion beautifully for parties or meal prep, and come together with simple ingredients you likely already have on hand.
Ingredients for No-Bake Cheesecake Jars
Unsalted butter: binds the graham cracker crumbs into a solid, sliceable crust; melted coconut oil can be used as a dairy-free alternative.
Graham cracker crumbs: form the buttery, slightly sweet base of each jar; crushed digestive biscuits or vanilla wafers can be used as a substitute.
Heavy cream: whips up into light, airy peaks that give the filling its fluffy texture; you’ll want it very cold for the best whip.
Full-fat brick cream cheese: forms the rich, tangy base of the filling; reduced-fat cream cheese can be used, though the texture will be slightly less rich.
Granulated sugar: sweetens the filling without overpowering the tang of the cream cheese; superfine sugar dissolves even more smoothly.
Sour cream: adds extra tang and a silky texture to the filling; plain Greek yogurt can be used as a substitute.
Lemon juice: brightens the filling with a subtle citrus note; a small splash of white vinegar can mimic the acidity in a pinch.
Vanilla extract: rounds out the filling with warm, classic flavor; vanilla bean paste can be used for an even richer taste.
Craving the exact amounts? You’ll find all the precise measurements in the recipe card below!
How to Make No-Bake Cheesecake Jars
Step 1: Make the Graham Cracker Crust
Stir the melted butter into the graham cracker crumbs until every bit is evenly moistened, resembling damp sand. The buttery, slightly sweet smell is always a great sign of what’s to come.
Step 2: Press the Crust into Jars
Divide the crumb mixture evenly among your jars, pressing down firmly with the back of a spoon to create a compact, even base layer.
Step 3: Whip the Cream
In a chilled bowl, whip the cold heavy cream until it forms stiff, glossy peaks. Set this aside while you prepare the cream cheese mixture, ready to fold in for that light, fluffy texture.
Step 4: Beat the Cream Cheese Base
In a separate bowl, beat the softened cream cheese with the granulated sugar until completely smooth and creamy, with no lumps remaining. This step is key to a silky final filling.
Step 5: Add Flavor
Mix in the sour cream, lemon juice, and vanilla extract, beating until everything is fully incorporated and the mixture looks glossy and rich.
Step 6: Fold in the Whipped Cream
Gently fold the whipped cream into the cream cheese mixture, working slowly to keep as much air in the mixture as possible. The filling should turn light, fluffy, and almost mousse-like.
Step 7: Fill, Chill, and Top
Spoon or pipe the filling generously over the crust in each jar, smoothing the tops as you go. Refrigerate until fully set, then finish with your favorite toppings right before serving.
Tips for Success
- Fully soften the cream cheese to avoid any lumps in the finished filling.
- Whip the heavy cream just to stiff peaks; overwhipping can make it grainy.
- Fold the whipped cream in gently to keep the filling light and airy.
- Chill the jars for the full time listed for the best set texture.
- Use clear jars to show off the beautiful layers.
- Add toppings just before serving to keep them looking fresh.
Equipment Needed
- Small jars or glasses: perfect for individual portions and easy serving; ramekins can be used as an alternative.
- Stand mixer or hand mixer: needed for whipping the cream and beating the cream cheese smoothly; a whisk works with a bit more effort.
- Rubber spatula: ideal for folding the whipped cream in gently without deflating it; a large spoon can work as well.
Variations
- Gluten-Free: use gluten-free graham crackers or cookies for the crust to make this dessert gluten-free.
- Lighter Version: use light cream cheese and a lighter whipped topping to reduce richness.
- Faster Version: use a tub of pre-made whipped topping instead of whipping your own cream.
- Budget-Friendly: use crushed store-brand cookies instead of graham crackers for the crust.
- High-Protein Boost: mix a scoop of vanilla protein powder into the cream cheese filling, adjusting sugar slightly to taste.
Serving Suggestions
- Top with fresh berries like strawberries, blueberries, or raspberries for a fruity finish.
- Drizzle with caramel or chocolate sauce for an indulgent touch.
- Add a sprinkle of crushed cookies or graham crackers on top for extra crunch.
- Serve alongside a cup of coffee or espresso for an after-dinner treat.
FAQs
Can I make these jars ahead of time?
Yes, these jars are perfect for making a day or two in advance. Just hold off on adding fresh toppings like fruit until right before serving to keep everything looking its best.
How long do these cheesecake jars keep in the fridge?
Stored covered in the refrigerator, they keep well for up to 4 days, making them a great make-ahead dessert for the week.
Can I freeze no-bake cheesecake jars?
Yes, these freeze well for up to a month. Thaw in the refrigerator overnight before adding toppings and serving.
What toppings work best for these jars?
Fresh fruit, caramel or chocolate sauce, crushed cookies, or even a dollop of fruit preserves all work beautifully and let you customize each jar to your taste.
Final Thoughts
These no-bake cheesecake jars prove that you don’t need an oven or hours of effort to enjoy a rich, creamy cheesecake dessert. Quick to make, easy to customize, and perfectly portioned, they’re a treat you’ll find yourself reaching for again and again whenever a craving strikes.
No-Bake Cheesecake Jars
- Total Time: 2 hours 20 minutes
- Yield: 6 jars
- Diet: Vegetarian
Description
Creamy, tangy cheesecake filling layered over a buttery graham cracker crust, portioned into individual jars and topped with your favorite garnishes for an easy, no-bake dessert.
Ingredients
- 2 tablespoons (28g) unsalted butter, melted
- 1 cup (100g) graham cracker crumbs (about 8 graham crackers)
- 1 cup (240ml) heavy cream or heavy whipping cream, cold
- 8 ounces (226g) full-fat brick cream cheese, softened to room temperature
- 1/3 cup (65g) granulated sugar
- 2 tablespoons (30g) sour cream, at room temperature
- 1 teaspoon lemon juice
- 1/2 teaspoon pure vanilla extract
- Toppings and garnishes of choice
Instructions
- Stir the melted butter into the graham cracker crumbs until evenly moistened and the texture resembles wet sand.
- Divide the graham cracker mixture evenly among small jars, pressing down firmly to form a compact crust layer.
- In a chilled bowl, whip the heavy cream until stiff peaks form, then set aside.
- In a separate large bowl, beat the softened cream cheese and granulated sugar together until smooth and creamy.
- Add the sour cream, lemon juice, and vanilla extract to the cream cheese mixture, beating until fully combined.
- Gently fold the whipped cream into the cream cheese mixture until light and fluffy.
- Spoon or pipe the cheesecake filling evenly over the graham cracker crusts in each jar.
- Refrigerate the jars for at least 2 hours to allow the filling to set.
- Top with your favorite garnishes just before serving.
Notes
- Make sure the cream cheese is fully softened to avoid lumps in the filling.
- Chill the jars for the full time for the cleanest, most set texture when serving.
- Prep Time: 20 minutes
- Chilling Time: 2 hours
- Cook Time: 0 minutes