
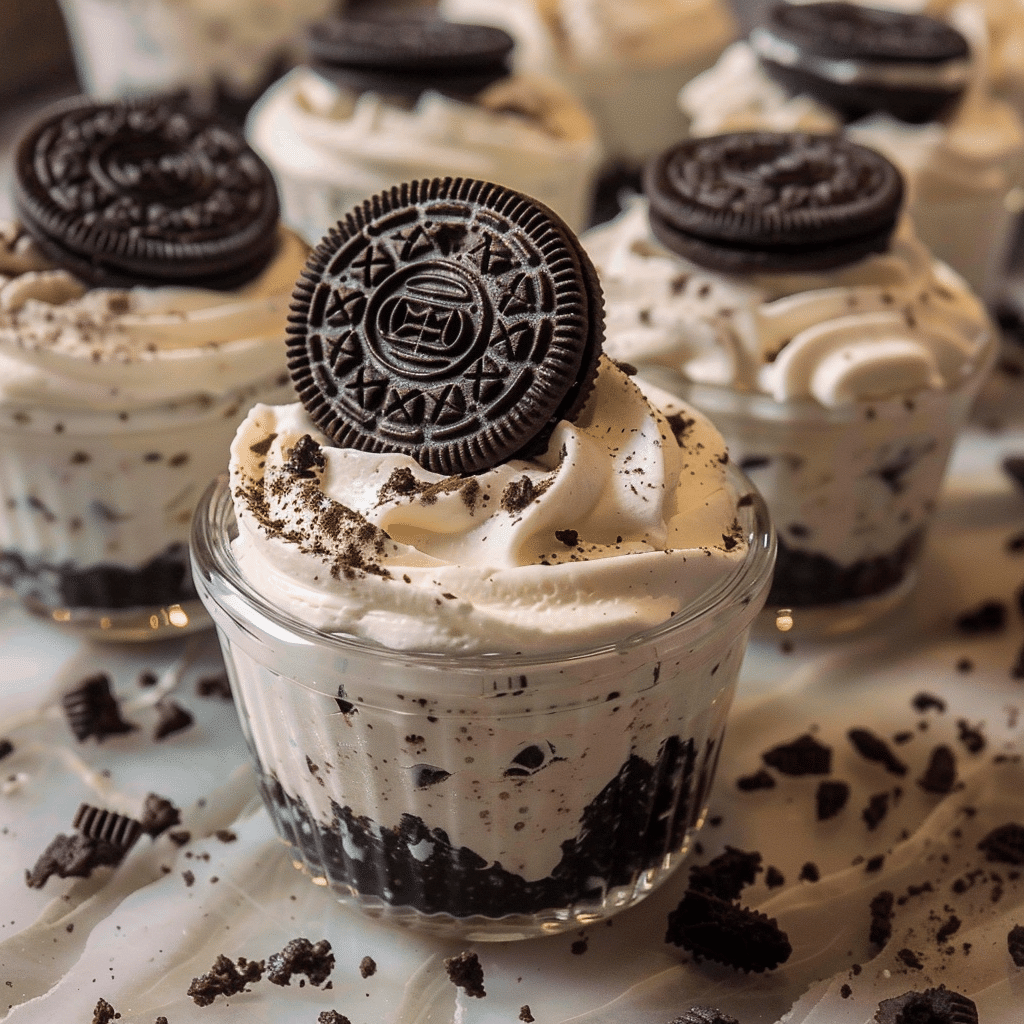
If you’re looking for a dessert that’s rich, creamy, and incredibly easy to prepare, No-Bake Oreo Cheesecake Cups might just become your new go-to recipe. There’s something about the combination of smooth cheesecake filling and crunchy Oreo cookies that feels instantly satisfying. Even better, you don’t need an oven, complicated techniques, or hours in the kitchen to make it happen.
Why You’ll Love This Recipe
One of the biggest reasons to love No-Bake Oreo Cheesecake Cups is their simplicity. There’s no need to worry about baking times, water baths, or complicated techniques. Everything comes together in a straightforward process that anyone can follow.
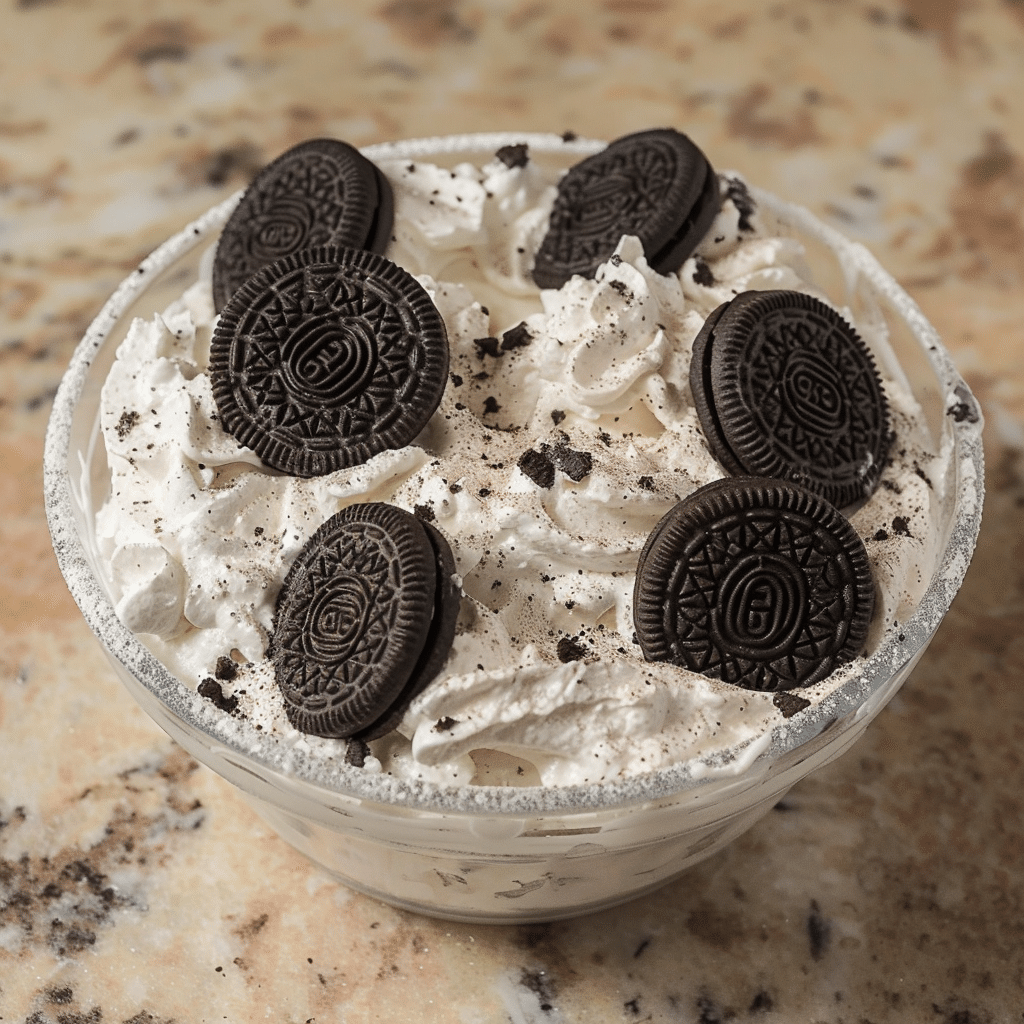
The texture is another standout feature. The filling is smooth and creamy, thanks to the combination of cream cheese and whipped topping. When layered with crushed Oreos, you get a satisfying contrast between soft and crunchy in every bite. It’s the kind of dessert that keeps things interesting from start to finish.
Ingredients You’ll Need
Tip: You’ll find the full list of ingredients and measurements in the recipe card below.
- 1 (8 oz) block cream cheese, softened
- 1 (8 oz) whipped topping (Cool Whip or similar)
- 2/3 cup powdered sugar
- 1 teaspoon vanilla extract
- 24–26 Oreo cookies (plus extra if desired)
These simple ingredients come together to create a creamy filling and a crunchy base that define this dessert.
Let’s Get Started
Start by preparing the Oreo cookies. Place them in a zip-top bag and crush them using a rolling pin, or pulse them in a food processor until you get a crumb-like texture. You can leave some slightly larger pieces for added crunch if you prefer.
In a mixing bowl, beat the softened cream cheese until smooth and creamy. This step is important because it ensures there are no lumps in your filling. Add the powdered sugar and vanilla extract, then continue mixing until everything is well combined.
Next, gently fold in the whipped topping. Use a spatula and mix slowly to keep the texture light and airy. This is what gives the cheesecake filling its fluffy consistency.
Now it’s time to assemble the cups. Start by adding a layer of crushed Oreos at the bottom of each cup. Then add a layer of the cheesecake mixture. Repeat the layers until the cups are filled, finishing with a layer of Oreos on top for a decorative touch.
Place the cups in the refrigerator and chill for at least 1–2 hours. This allows the layers to set and the flavors to come together. Serve chilled for the best taste and texture.
Servings and Pairing Variations
This recipe makes about 6 to 8 servings, depending on the size of your cups. Individual servings make it easy to portion and serve, especially for gatherings or parties.
These cheesecake cups pair well with a variety of additions. Fresh berries like strawberries or raspberries can add a refreshing contrast to the richness. A drizzle of chocolate or caramel sauce can enhance the dessert if you’re looking for something extra.
You can also experiment with variations. Try using different Oreo flavors, adding peanut butter to the filling, or layering in chocolate chips for added texture. The base recipe is flexible, making it easy to customize.
Storage Tips
Store the cheesecake cups in the refrigerator, covered, for up to 3 days. Keeping them chilled helps maintain their texture and flavor.
If you’re preparing them ahead of time, you can assemble the cups and refrigerate them until ready to serve. Just make sure they’re stored in airtight containers to prevent them from drying out.
Freezing is possible, but it may slightly alter the texture of the whipped topping. If you do freeze them, allow them to thaw in the refrigerator before serving.
FAQs
Can I use homemade whipped cream instead of Cool Whip?
Yes, just make sure it’s whipped to stiff peaks for the best texture.
Do I need to remove the Oreo filling?
No, you can use the cookies as they are for full flavor.
How long do they need to chill?
At least 1–2 hours, but longer chilling improves the texture.
Can I make them ahead of time?
Yes, they’re great for preparing a day in advance.
Final Thoughts
No-Bake Oreo Cheesecake Cups are proof that a simple recipe can still feel special. With their creamy filling, crunchy layers, and easy preparation, they’re a dessert you’ll want to make again and again.
Whether you’re serving them at a gathering or enjoying them as a treat at home, these cheesecake cups offer a perfect balance of flavor and convenience. They’re easy to customize, quick to prepare, and always satisfying—making them a reliable choice for any occasion.
Print
No-Bake Oreo Cheesecake Cups
- Total Time: 15 minutes
- Yield: 6 servings
- Diet: Vegetarian
Description
A quick and creamy no-bake dessert layered with crushed Oreos and fluffy cheesecake filling, perfect for any occasion.
Ingredients
- 1 (8 oz) cream cheese, softened
- 1 (8 oz) whipped topping
- 2/3 cup powdered sugar
- 1 tsp vanilla extract
- 24–26 Oreo cookies
Instructions
- Crush Oreo cookies into crumbs using a bag or food processor.
- Beat cream cheese until smooth.
- Add powdered sugar and vanilla; mix until combined.
- Fold in whipped topping gently until creamy.
- Layer Oreo crumbs and cheesecake mixture in cups.
- Repeat layers and finish with Oreo crumbs on top.
- Chill in refrigerator for 1–2 hours before serving.
Notes
- Soften cream cheese fully for a smooth filling.
- Chill longer for firmer texture.
- Add chocolate drizzle or berries for variation.
- Prep Time: 15 minutes
- Cook Time: 0 minutes